Explore and fix XBOW results
After you start an assessment, the “Run assessment” page shows results as they are detected. In addition, you can view a summary of the configuration for the assessment.
Exploring results
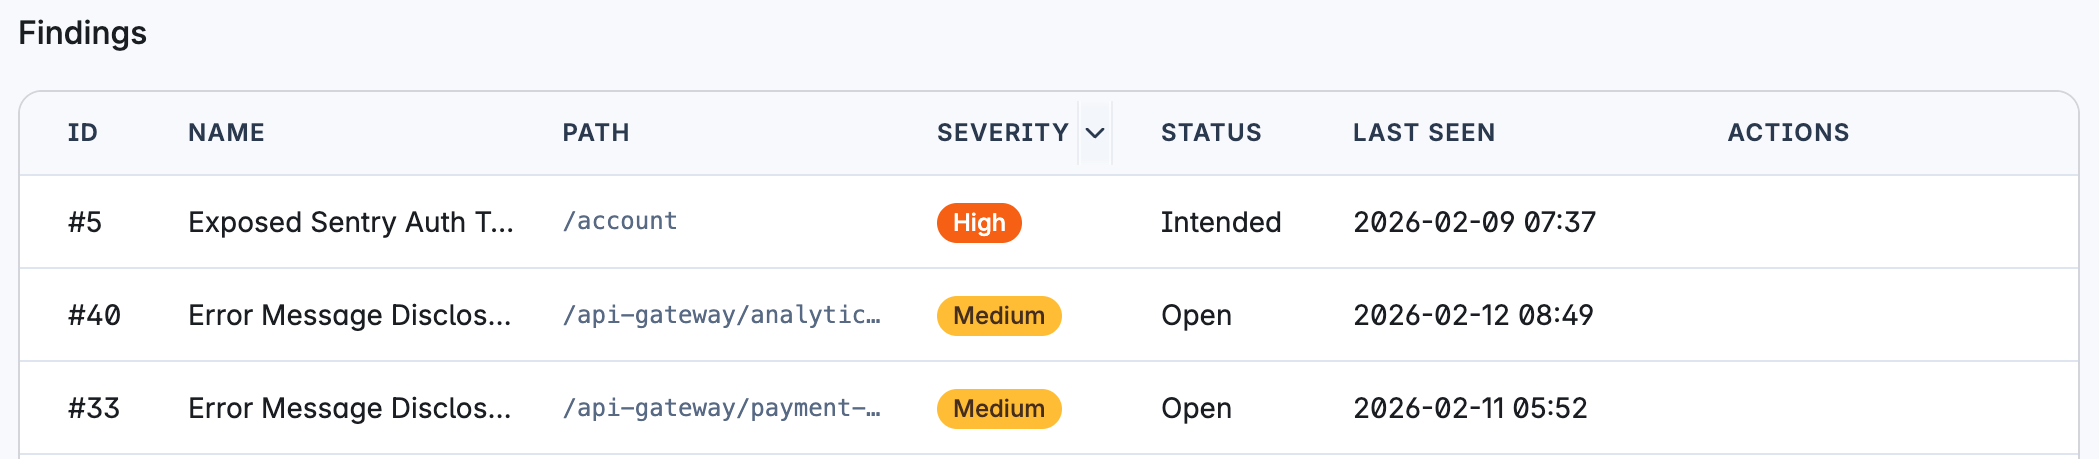
By default, findings are sorted by severity. You can click any column header to change the sort order. When you see a finding you want to explore, click the table row to view detailed information about that vulnerability.
- CVSS score: Including how it was calculated.
- CWE classification: The vulnerability type (see Vulnerability classification).
- Detailed explanation: Description of the problem found in your application.
- Exploit (for validated findings): Full exploit information, reproduction steps, and proof (see Interpreting XBOW results).
- Impact: Explanation of how the vulnerability could affect your application. To view any underlying evidence, click Demonstration efforts. The depth of this evidence depends on the level of impact demonstration you set for the assessment. See Impact demonstration.
- Mitigation: Guidance on how to fix or reduce the severity of the vulnerability.
You can also view the complete trace of the AI agent’s testing process by clicking View Trace or scrolling to the bottom of the page. To export the trace as Markdown, click Download Trace.
To return to the table of findings, use your browser back button or use the breadcrumb shown at the top of the page.
Mitigating findings
For each finding, XBOW proposes how you can mitigate the vulnerability. This advice is tailored as closely as possible to the specific vulnerability found in your target. If you chose to upload source code to guide testing, XBOW uses this information to provide more precise instructions.
Use the mitigation advice to fix or reduce the potential impact of each finding that you decide is important.
For findings you choose not to address immediately, you can:
- Open a ticket internally to address the finding in a future release
- Document the risk-acceptance decision as outlined by your organization’s security policy
- Mark the finding as “Intended” in the XBOW Console
Exporting findings
To share potential vulnerabilities and simplify triage automation, you can export a list of findings.
- Select the scope of your findings list:
- To export a list of all findings across every assessment of your asset, navigate to your asset page.
- To export a list of all findings from a specific assessment, select the dropdown arrow next to the “Assessments” breadcrumb, then click an assessment.
- At the top right of the findings table, select Export all, then click CSV or JSON.
Note: Filtering the findings table does not affect the exported findings list.
Tracking external work on findings
If you track remediation in your own ticketing system, you can record the state of that work and a ticket reference against an XBOW finding. This is separate from the XBOW finding status and does not change it. Everyone in your organization can read what you enter. Console does not automatically connect to your ticketing system, so you set these fields yourself.
Users with the Developer role or higher can set external work tracking. Everyone else can view it.
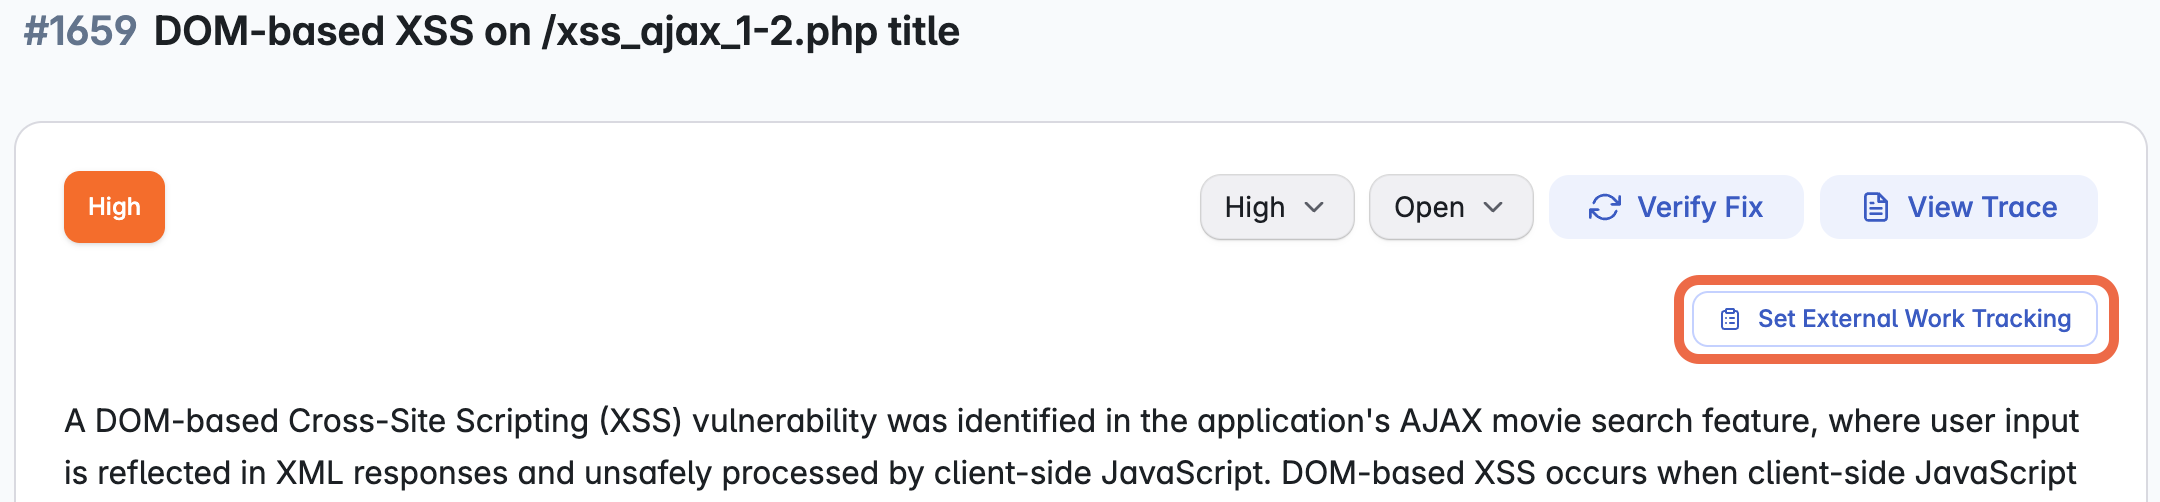
To track external work on a finding:
- Open the finding and click Set External Work Tracking.
- In the External work tracking dialog, choose a State: “Not started”, “In progress”, or “Completed”.
- Optionally, use the free-text External ticket field to add an external reference, such as a Jira key (
SEC-1842). You can only add a ticket once a state is set. - Click Save.
The finding then shows its external state in an interactive label. Click the label to update the state. To clear external tracking, open the dialog and click Remove external tracking.
You can also read and update these fields through the XBOW API. See Updating finding metadata in the API reference.
To configure Jira to maintain these fields automatically, see XBOW Integration for Jira.
Retesting to confirm fixes
After fixing vulnerabilities, you can retest to verify the fixes are comprehensive. XBOW will try the original exploits and, if those fail, will attempt alternative approaches.
Note: Lightspeed users need to run retests within their 30-day assessment window.
Start a retest (All users)
- When you have addressed the vulnerabilities you prioritized, view the assessment results page.
- Click Retest to display the “Retest previous vulnerabilities” dialog box.
- Select every vulnerability that you want to retest.
- Click Retest to start the retest assessment.
When the retest completes, the findings table updates to show confirmed fixes. A new version of the Penetration Test report is generated with updated statuses.
Alternative method (Enterprise users only)
Enterprise users can also create a new assessment for the target and select Retest as the assessment type.
Downloading reports
XBOW automatically creates a penetration testing report for each successful assessment. When an assessment verifies a fix, XBOW generates a new version of the report with the updated finding status.
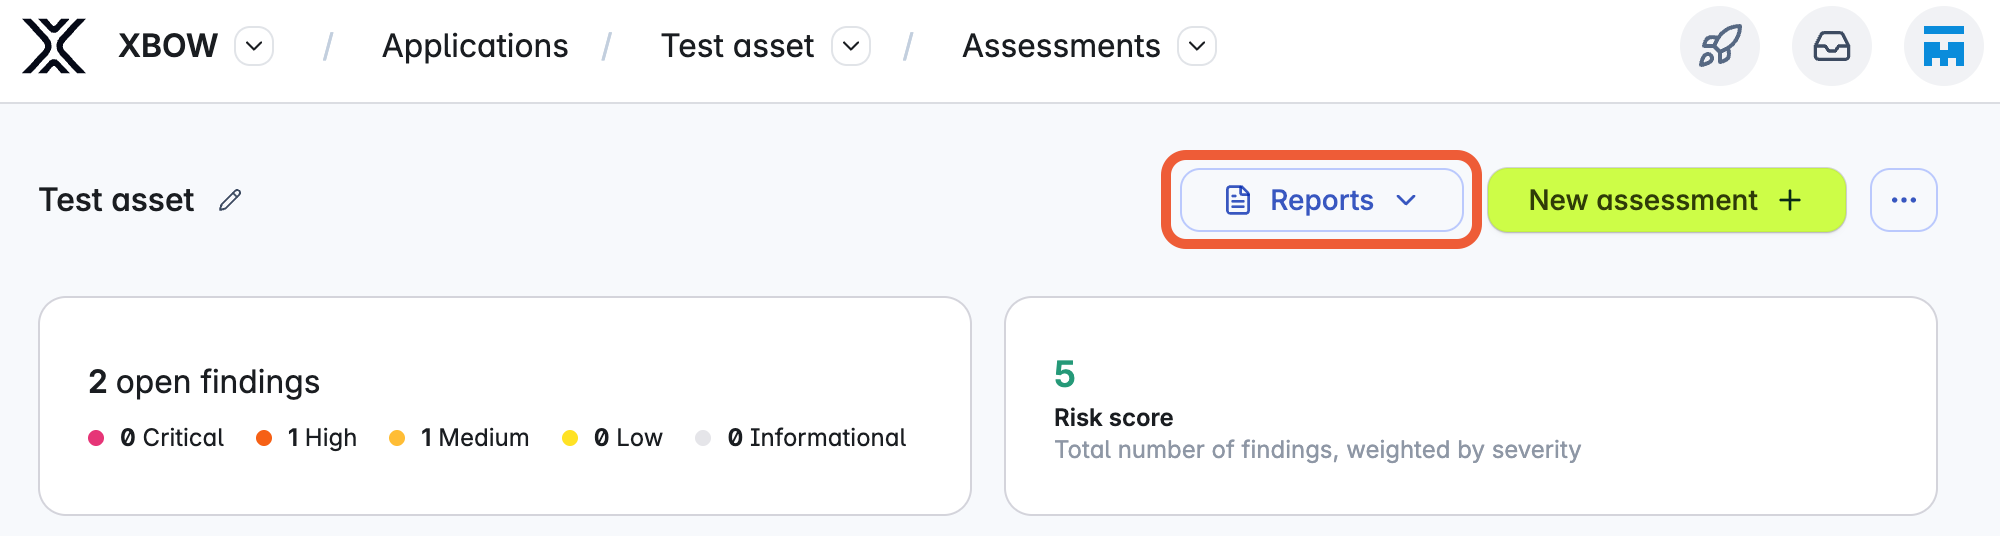
- On the asset page, click Reports.
- Choose which version of the report to download, then click Penetration testing report, Executive summary, or Letter of attestation to immediately download your document.
The executive summary and letter of attestation are reduced versions of the full report that omit detailed information about any vulnerabilities or exploits found. For more information, see Reports.
Next steps
- Decide which target to test next, see Choosing a target to test
- Compare applications by their open findings, see Risk score